
Why Is My Ice Maker Not Working? Common Fixes for Clogged Lines Thermostats and Electrical Issues

A quiet ice maker is easy to ignore until the glass is empty and the bin is bare. The good news is that many ice maker problems come from a short list of causes: water supply issues, frozen or clogged lines, temperature trouble, worn parts, or an electrical fault.
Before replacing anything, take a few minutes to narrow down the problem. A careful check can save money, prevent water damage, and help you decide when it is time to call a technician.
Always start with your refrigerator’s user manual. Ice maker layouts vary by brand and model, and the manual can show the exact reset button, water filter location, recommended freezer setting, and safe removal steps.
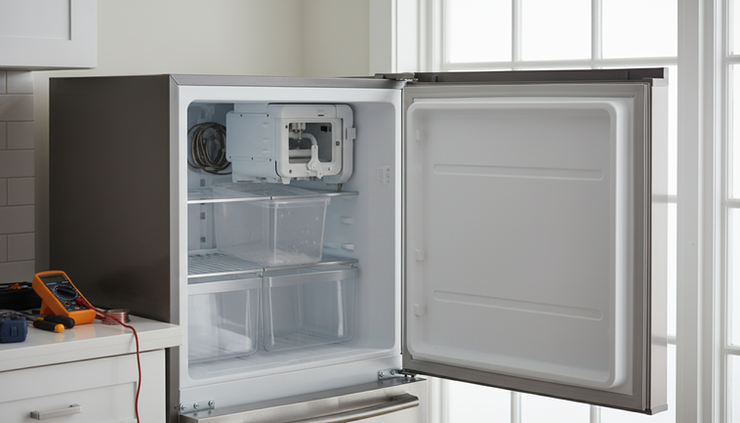
Start with a quick safety and symptom check
Before touching parts inside the freezer or behind the refrigerator, take a few basic precautions.
Turn off the ice maker
Most units have an on-off switch, a wire shutoff arm, or a control panel setting. Turn it off before inspecting moving parts.
Unplug the refrigerator if you will access wiring
If you are only checking the ice bin or filter, unplugging may not be needed. If you remove panels or inspect electrical connections, disconnect power first.
Turn off the water supply valve
Use the valve connected to the refrigerator’s water line. This is usually behind the fridge, under the sink, or in the basement below the kitchen.
Look for leaks
Check around the fridge, under the ice bin, and near the water line. A small drip can freeze into a blockage or damage flooring.
Listen to the ice maker
Clicking, humming, buzzing, or silence can all give clues. A hum may mean the inlet valve is trying to open. Silence may point to a control, thermostat, or power issue.
Here is a fast way to connect symptoms with possible causes.
What you notice | Likely cause | First thing to check |
No ice at all | No water, power issue, faulty control | Water valve, ice maker switch, freezer temperature |
Small or hollow cubes | Low water flow | Filter, water line, inlet valve |
Ice maker cycles but tray stays dry | Water supply problem | Fill tube, supply line, inlet valve |
Ice clumps in the bin | Temperature swings or old ice | Door seal, freezer setting, bin condition |
Ice maker is frozen over | Fill tube leak or low freezer airflow | Fill tube, vents, water pressure |
Ice maker is silent | Electrical or thermostat issue | Power, shutoff arm, control module |
Check the simple causes first
Some ice maker failures are not failures at all. A setting may have changed, a bin may be out of place, or the freezer may be too warm.
Make sure the shutoff arm or switch is on
Many ice makers stop producing ice when the bin is full. They sense this with a wire arm, paddle, optical sensor, or control panel setting.
Follow these steps:
Open the freezer and find the ice maker shutoff arm or switch.
Make sure the arm is down if your model uses a wire arm.
Confirm the ice maker is turned on at the control panel.
Remove and reseat the ice bin.
Wait several hours, since a new batch of ice takes time.
If the arm is stuck, do not force it hard. Ice buildup may be holding it in place. Let the freezer warm slightly with the door open for a few minutes, then gently clear the ice.
Confirm the freezer is cold enough
Ice makers need a properly cold freezer to work. If the freezer is too warm, the water in the mold may not freeze, or the thermostat may not trigger the harvest cycle.
Common target freezer temperature is around 0°F. Check your manual for the recommended setting.
Steps to check temperature:
Place an appliance thermometer in the freezer.
Leave it there for several hours.
Check the reading without holding the door open too long.
Adjust the freezer setting if needed.
Make sure food packages are not blocking vents.
If the freezer cannot reach a cold setting, the ice maker may not be the main problem. Dirty condenser coils, poor door seals, a failing fan, or sealed system issues can affect freezer performance.

Fix clogged water lines and low water flow
A clogged or frozen water line is one of the most common reasons an ice maker stops working. The unit may cycle normally, but little or no water reaches the mold.
Signs of a water flow problem include:
No water entering the ice tray
Small, thin, or hollow cubes
A buzzing sound when the ice maker calls for water
Slow water from the refrigerator door dispenser
Ice buildup around the fill tube
Step 1. Check the household water valve
The refrigerator needs a steady water supply.
Pull the refrigerator forward carefully.
Find the water line and shutoff valve.
Make sure the valve is fully open.
Look for kinks in the tubing.
Straighten the line if it is pinched behind the refrigerator.
If you see cracked plastic tubing, corrosion, or an active leak, shut off the water and replace the damaged part or call a technician.
Step 2. Replace or inspect the water filter
A clogged filter can reduce flow enough to stop ice production.
Locate the filter using the manual.
Check whether the filter is overdue for replacement.
Install the correct replacement filter for your model.
Run water through the dispenser if your model has one.
Give the ice maker several hours to resume production.
If the problem started right after a filter change, remove and reinstall the filter. It may not be seated correctly. Some refrigerators also need the filter reset button held for a few seconds after replacement.
Step 3. Thaw a frozen fill tube
The fill tube is the small tube that sends water into the ice maker mold. If it freezes, water cannot enter.
Turn off the ice maker.
Unplug the refrigerator if you will use heat near internal parts.
Locate the fill tube above or behind the ice maker.
Melt visible ice with a warm cloth.
Use a hair dryer only on a low setting, held several inches away.
Dry the area and turn the unit back on.
Do not use sharp tools to chip ice from the fill tube. A puncture can create a leak that is more expensive than the original problem.
If the fill tube freezes again, the cause may be low water pressure, a seeping inlet valve, or improper freezer temperature. Repeated freezing needs more than a quick thaw.
Step 4. Test the water inlet valve symptoms
The water inlet valve opens when the ice maker calls for water. If it fails, the ice maker may not fill.
Signs of a bad inlet valve include:
A humming sound but no water flow
No sound and no fill during the cycle
Slow dispenser flow even with a new filter
Water leaking into the ice maker when it should be off
A homeowner can inspect the valve for obvious damage, loose connectors, or mineral buildup. Testing voltage or resistance requires a multimeter and comfort with electrical diagnostics. If that is outside your skill level, call a professional.
Look for thermostat and temperature control problems
The ice maker thermostat senses when the ice mold is cold enough to harvest cubes. If it fails, the unit may never cycle, may cycle too soon, or may leave ice stuck in the mold.
This is where troubleshooting can get tricky because several parts affect temperature. The freezer thermostat, ice maker mold thermostat, control board, fan, and door seal can all influence ice production.
Step 1. Check whether the ice maker completes a cycle
A normal cycle usually fills the mold, freezes the water, releases cubes, and refills. If cubes sit frozen in the mold and never eject, the thermostat or motor module may not be starting the harvest cycle.
Try this:
Make sure the ice maker is on.
Confirm the freezer is near the recommended temperature.
Look inside the mold for frozen cubes.
Check whether the ejector fingers are stuck.
Press the reset or test button if your manual allows it.
Some models have a specific test procedure. Do not force a harvest cycle unless the manual says it is safe.
Step 2. Inspect for airflow problems
Poor airflow can fool temperature sensors and slow ice production.
Move food away from freezer vents.
Avoid packing items tightly around the ice maker.
Check that the freezer fan runs when the door switch is pressed.
Look for frost buildup on the rear freezer panel.
Clean dirty door gaskets so they seal well.
Heavy frost can mean warm air is entering the freezer or the defrost system is not working correctly. That type of issue often needs professional diagnosis.
Step 3. Know when the thermostat may need replacement
A faulty thermostat is likely if:
The freezer is cold, but the ice maker does not harvest
Ice freezes in the mold but never ejects
The ice maker works only sometimes
Resetting helps briefly, then the problem returns
Replacing an ice maker thermostat or module can be possible on some models, but many modern units use sealed or integrated assemblies. Check the manual and parts diagram. If the part is built into the ice maker assembly, replacement may be simpler than repair.
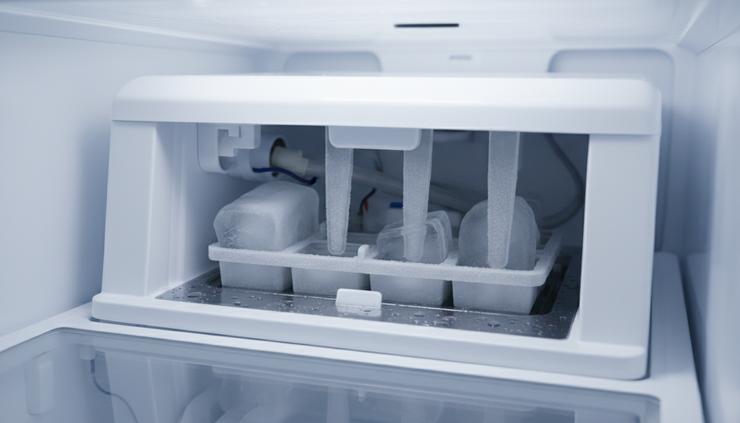
Rule out electrical problems carefully
Electrical issues can stop an ice maker even when the water supply and freezer temperature are fine. This can include a tripped outlet, loose connector, failed switch, broken wire, bad motor module, or control board fault.
Work carefully here. Water and electricity are a risky combination.
Step 1. Confirm the refrigerator has steady power
If the refrigerator is running normally, the main power supply is probably fine. Still, check for signs of an outlet or breaker issue.
Confirm interior lights and fan operation.
Check the breaker if the refrigerator is dead.
Avoid using an extension cord for a refrigerator.
Make sure the plug is fully seated.
Check for a tripped GFCI outlet if applicable.
Many refrigerators should be plugged into a dedicated grounded outlet. Your manual or installation guide will give the safest setup for your model.
Step 2. Check the ice maker connection
Some ice makers plug into a wiring harness inside the freezer.
Turn off or unplug the refrigerator.
Remove the ice bin.
Look for loose or damaged wiring near the ice maker.
Reseat any visible connector if your manual shows it is user-accessible.
Reinstall the bin and restore power.
Do not cut, splice, or tape appliance wiring as a repair. That can create shock, fire, or control board damage.
Step 3. Reset the ice maker the right way
Many ice makers have a reset button or test cycle.
Find the reset instructions in the user manual.
Follow the exact button sequence.
Listen for movement or water filling.
Wait for a full freeze cycle before judging the result.
If the reset fails repeatedly, stop resetting and diagnose further.
A reset can clear a temporary fault. It will not fix a clogged line, failed valve, broken thermostat, or damaged control board.
Step 4. Call for help when electrical symptoms appear
Get professional service if you notice:
Burning smell
Scorch marks
Repeated breaker trips
Sparking
Melted wire insulation
Water near electrical parts
A control panel that flickers or goes blank
These signs are not normal ice maker problems. They need safe testing and repair.
Clean out jams, clumps, and mechanical blockages
Sometimes the ice maker can make ice, but it cannot move it properly. Ice clumps, stuck ejector arms, and blocked dispensers can make it seem like the whole system has failed.
Clear stuck ice from the mold and bin
Turn off the ice maker.
Remove the ice bin.
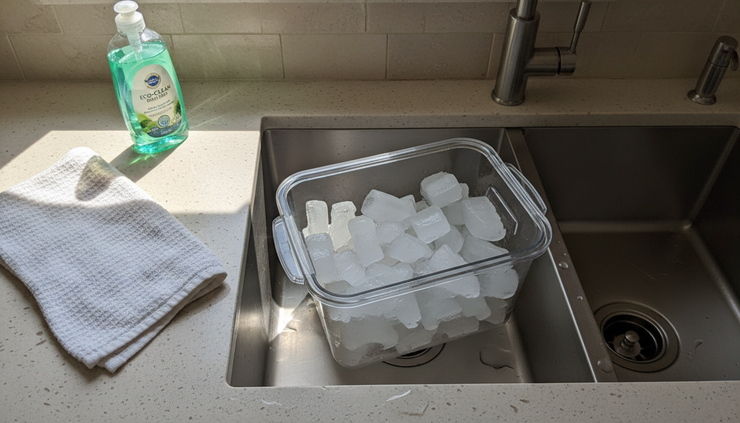
Dump old clumped ice into the sink.
Wash the bin with mild soap and warm water.
Dry it fully before reinstalling.
Gently remove loose ice from the ice maker area.
Do not pour hot water directly into the freezer. It can crack plastic parts, create more frost, or run into electrical areas.
Check the dispenser path
If the ice maker fills the bin but no ice comes out of the door dispenser, the dispenser may be the issue.
Remove the ice bin.
Break up clumps inside the bin.
Check the auger for stuck ice.
Inspect the chute in the freezer door.
Clear frost with a warm cloth.
Reinstall the bin so it locks into place.
Wet ice that refreezes into clumps often points to temperature swings. Check the door gasket, avoid leaving the freezer open, and make sure the bin is not sitting partly out of position.
When replacing the ice maker makes sense
If the refrigerator cools properly, the water supply is clear, and the ice maker still will not cycle, the ice maker assembly may have failed.
Replacement may make sense when:
The motor module no longer turns
The mold coating is damaged
The thermostat is built into the assembly
The unit is old and has multiple worn parts
The cost of individual parts is close to the assembly cost
Before ordering parts, match the model number exactly. Refrigerator model numbers are often found inside the fresh food compartment, on a side wall, near the ceiling, or behind a lower grille. Use the full model number, not just the brand name.
If the refrigerator is under warranty, contact the manufacturer or retailer before removing parts. DIY repair can affect coverage on some appliances.
Regular maintenance that helps prevent ice maker problems
Ice makers work best with steady water flow, stable temperature, and clean parts. A little maintenance can prevent many common issues.
Use this routine:
Replace the water filter on schedule
Follow the interval in your manual. Replace it sooner if water flow drops or ice tastes odd.
Keep the freezer near the recommended setting
Around 0°F is common, but your model may vary.
Clean the ice bin every few months
Dump old ice, wash the bin, rinse well, and dry it fully.
Avoid blocking freezer vents
Airflow helps the ice maker freeze and harvest properly.
Inspect the water line
Look for kinks, leaks, or crushing behind the refrigerator.
Clean condenser coils
Dusty coils make the refrigerator work harder and can affect freezer temperature.
Use ice regularly
Old ice can absorb odors and clump together.
Check the door seal
A weak gasket lets warm air in, which can cause frost and melting.
If you leave home for an extended time, consider turning off the ice maker and water supply. Empty the bin so old ice does not melt, refreeze, and jam the auger.
Know when to stop troubleshooting
Basic checks are safe for many homeowners, but some problems need tools, training, or sealed appliance knowledge. Call a professional if you have repeated freeze-ups, no voltage to the ice maker, a suspected control board failure, refrigerant cooling issues, or any electrical warning sign.
A good rule is simple: if the repair involves live voltage, hidden wiring, sealed refrigeration parts, or a leak you cannot control, get help.
Your user manual should be the final guide for your specific model. It can show safe reset steps, part locations, error codes, and maintenance instructions that general advice cannot cover.
An ice maker that is not working usually comes down to one of a few things: water is not reaching the tray, the freezer is not cold enough, the harvest cycle is not starting, or power is not reaching the right part. Start with the easy checks, move carefully through water and temperature issues, and do not guess with electrical repairs. With a clear process, you can often get the ice flowing again or know exactly when it is time to bring in a pro.


Comments